For me videoing my track days is less about vanity and more about having the ability to review my performance after the event. Decent quality video and sound is vital to allow you to evaluate your lines and your use of the throttle (and even the brakes to a certain extent).
You don’t have to upload your video to YouTube to be able to review it, but with few cameras on track bikes, my feeling is that the other riders appreciate seeing themselves on track. It helps them to evaluate their body position and riding style either as they overtake you or you overtake them. If you can follow someone for a lap or two then they get the chance to see themselves through all sorts of corners which is an extra bonus. In fact I’m getting to the point where I’d like to lend my camera to a rider prepared to to follow me for a lap or two just to see how I’m doing as regards body position!
Putting decent video and sound together has taken me a few months to get sorted out. My original videos posted on YouTube were as simple as uploading the entire MP4 file taken from my GoPro directly to YouTube. While this is OK, it does mean that you can get several minutes of video waiting in the pits (depending on when you switch the camera on), and several minutes after the session (again depending on when you switch the camera off).
Camera
If you don’t already have a camera then you want to get the best one that you can afford. Personally I use a Go Pro Hero 2 as my forward facing camera. It wasn’t cheap but it
- produces good quality video
- includes a waterproof case and multiple fixings/attachments
- has a wide angle lens
- offers multiple image resolutions and frame rate
Other options include the Veho Muvi and the Contour range of cameras. Look for something small, with good battery life, good low light operation and wide angle lens. Cheap cameras tend to produce rubbish videos in my experience.
A word to the wise… in the case of the Go Pro Hero 2, I also invested in an additional battery. One battery will not last a full day even if you switch the camera off between sessions. Either buy an additional battery or bring some means of recharging the battery. A second battery cost around £17 (US$ 25) and only takes a minute to swap over.
Camera Settings
 Your camera may offer many video options or settings, and if so, it can be confusing knowing which ones to use. Generally, what you’re aiming for is a setting that gives a good compromise between quality and video file size. Why is file size important? Because you don’t want to be swapping SD cards during the track day as they fill up nor do you want to be editing massive video files after the event!
Here’s a quick guide to some of the GoPro Hero 2 options to help you decide what is suitable for your own videos:
| Setting | File Size per 10 mins |
Comments |
|---|---|---|
| 720-30 | 1GB | 720p @30 fps (frames per second) Probably the best setting to use for regular track day videos. Produces an image that is 1280×720 pixels. The camera lens is set to “wide” mode |
| 720-60 | 2GB | 720p @60 fps (frames per second) Useful if you want to show some of the video in slow motion. Slowing the video by 50% on your computer will still produce great quality because the video will be running at 30fps effectively. When the frame rate starts to drop below that the quality also drops. Again the camera lens operates in “wide” mode. |
| 1080-30 | 2GB | Full HD footage @ 30fps Produces an image that is 1920×1080 pixels. Use this setting if you want to produce the highest quality video possible. You can choose between three lens modes: narrow, medium and wide. The wider the view the larger the horizontal field of view and the further away things will appear in your videos. Also the low light performance of the camera seems to improve as you widen the view. Since “wide” is the default view on the 720 settings, I guess it makes sense to use the same “wide” view on this setting. |
Personally I shoot my videos in 720-30 mode as this provides the best compromise between quality and file size. I also have a 32Gb Class 10 SD card for the GoPro HD 2 and an 8Gb class 10 micro SD card for the Muvi HD 7. Both these cards are sufficient to record a full 7 x 25 minutes of track time over the course of the track day.
Camera positioning (forward facing)
Most track day companies and circuits will not allow you to mount your camera on the fuel tank. This ruling is borne out of experience; you don’t want to have the your wedding tackle damaged by the camera in an accident! As an alternative, there are mounts that will fit on the handlebars and these can be used to give you a view through the windscreen onto the track while also allowing you to view the speedo and tacho.
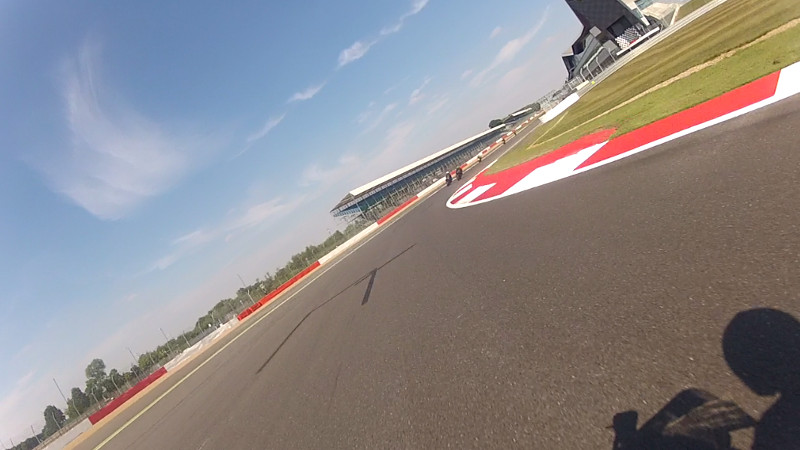
In my opinion being able to see the speedo and tacho offer little value if you are studying your videos in order to improve your riding, and it is for this reason that I mount the camera on the front of the fairing in order to get the best unobstructed forward view. You don’t really need to see the tacho because you can hear the engine revs in your video anyway.
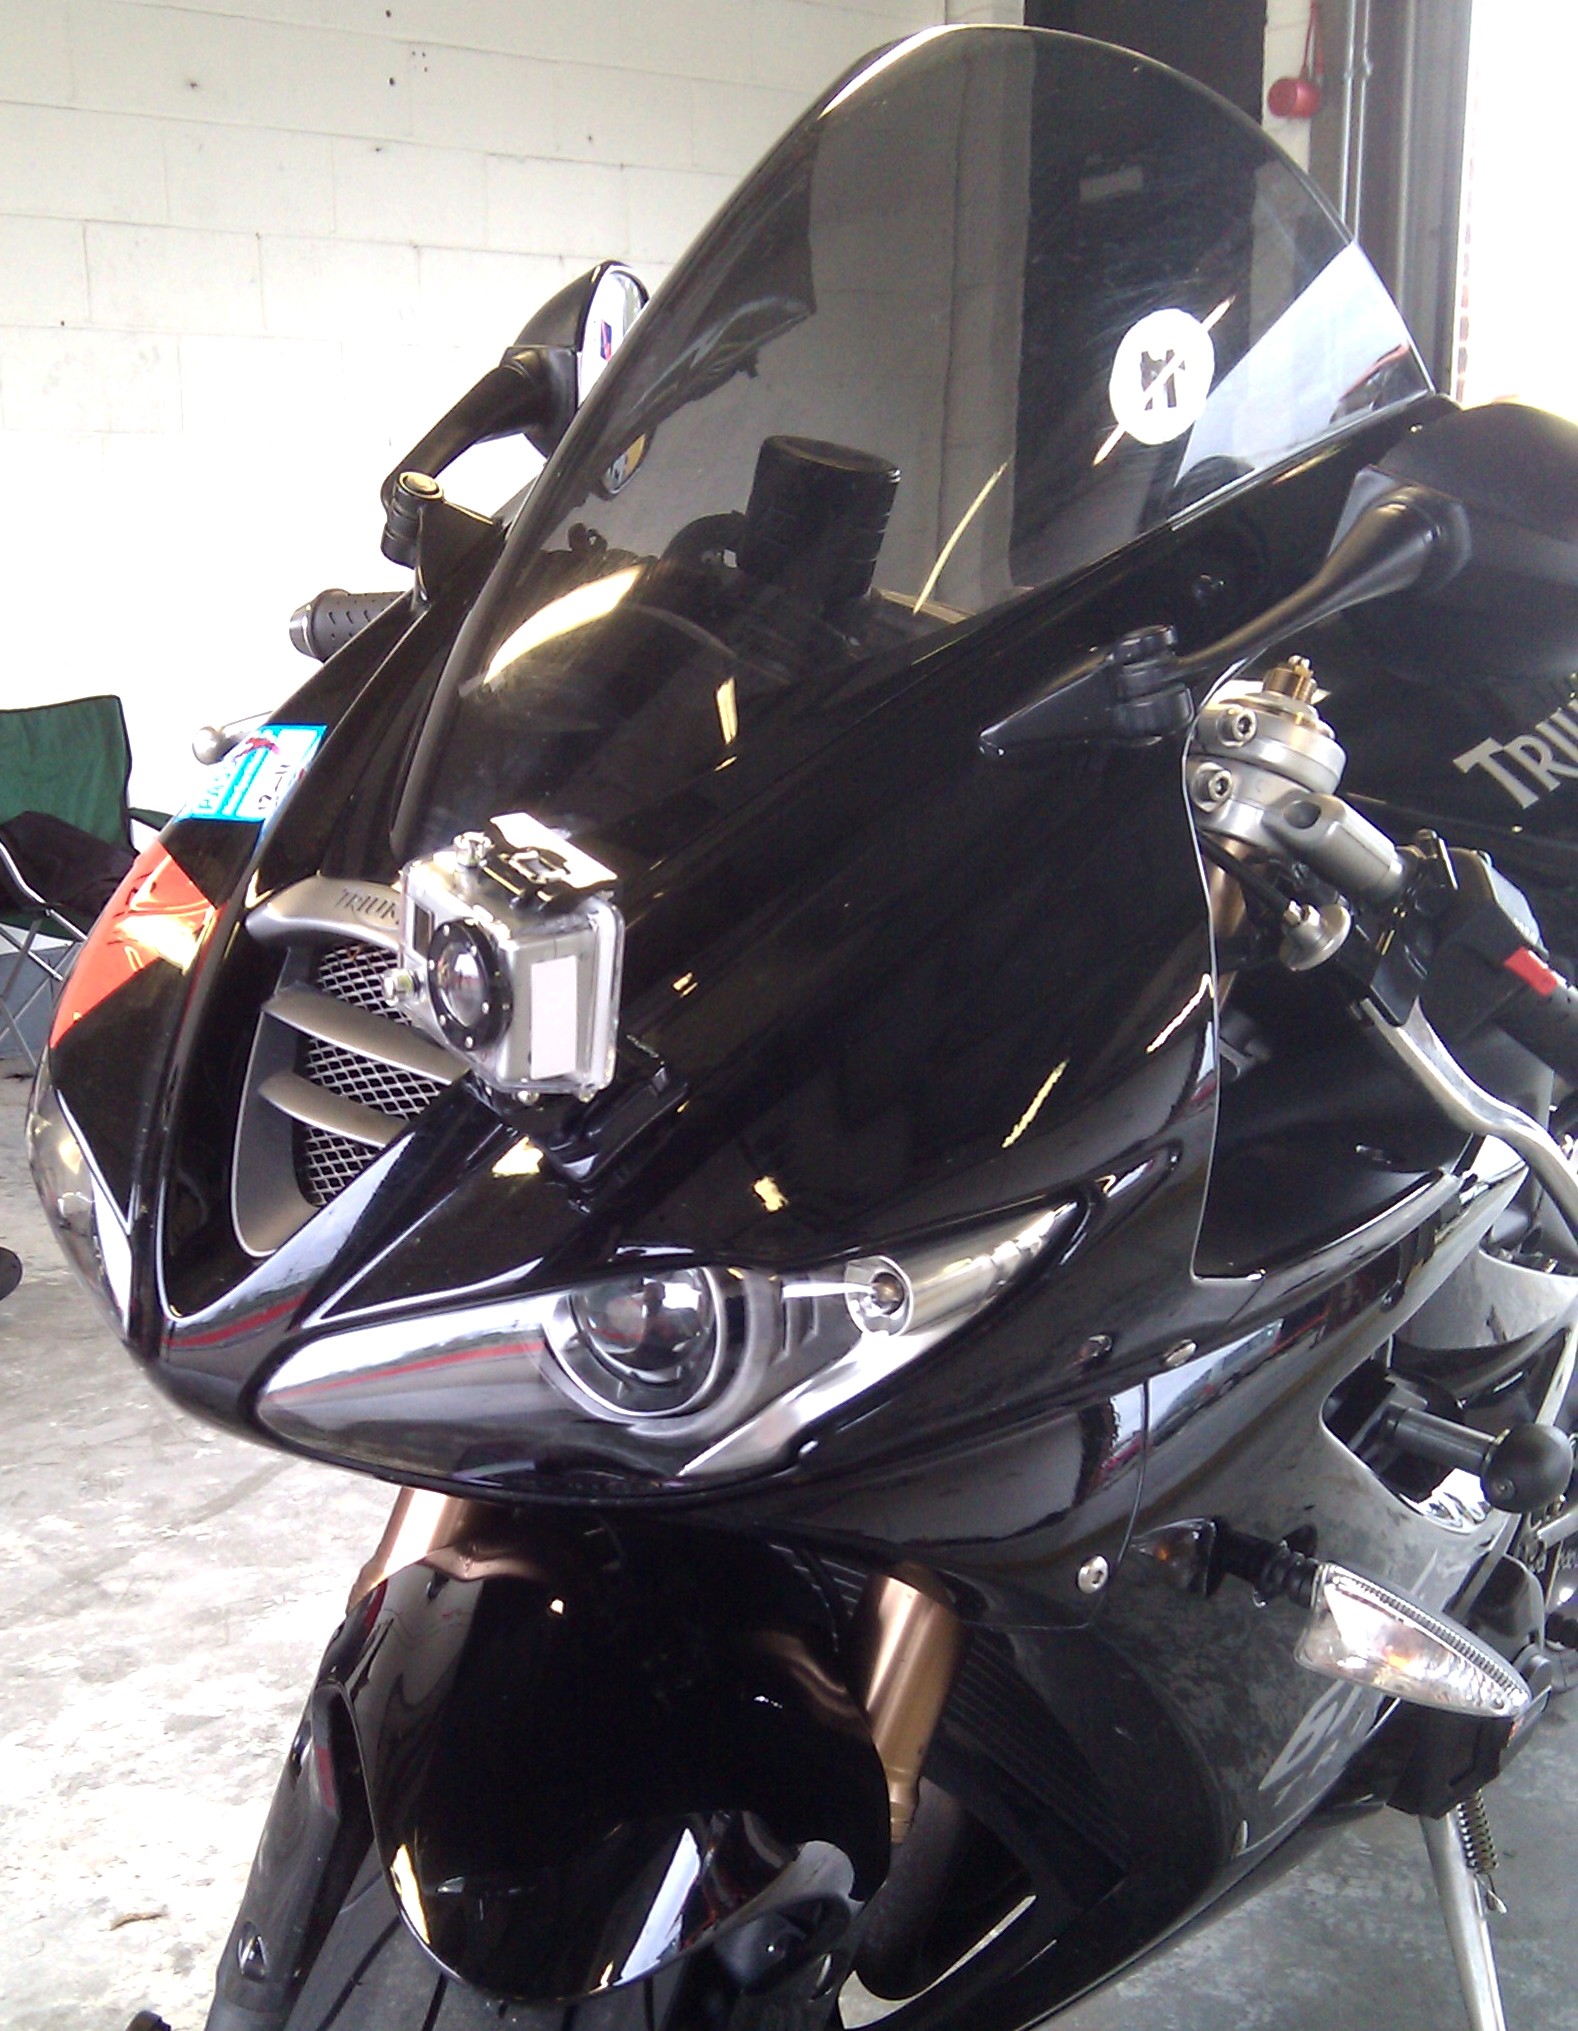 If you also decide to mount your camera at the front of the bike, you have a choice of two locations; high on the fairing on or near the windscreen or halfway down mounted on the side of the fairing. The closer the camera is to the ground then the “faster” your riding will look. If you do decide to mount the camera down on the side of the fairing, try and mount it away from the front wheel to avoid the wheel and fork leg obscuring half the picture frame! Also be mindful of the fact that you will be leaning the bike in turns and you could grind out the camera if you mount it too low. Trust me as I’ve seen a video on YouTube where this has happened when the front fork compressed in a turn.
Camera positioning (rear facing)
If you are fortunate enough to have a second camera then you could mount a rearward facing one too. I know that a lot of people mount the rear camera facing their back and butt but personally I cannot see the point of watching those videos! Get a friend to video you from their bike by following you on track instead; at least that way the video will be more interesting!
 In the past I’ve tried mounting my GoPro on the tail piece and while this works at low speeds, I found that the tail would vibrate and flap to such an extent that the video was virtually unusable. As a result, I added a bracket to the mounting point for the right hand side footpeg hanger (which is no longer used) to mount my rear facing camera.
 Mounted this way the camera is entirely stable at the expense of having part of the rear wheel in shot. This isn’t actually as intrusive as it sounds and it also allows you to see the suspension at work including the fore and aft pitching of the bike under braking and acceleration.

Sound
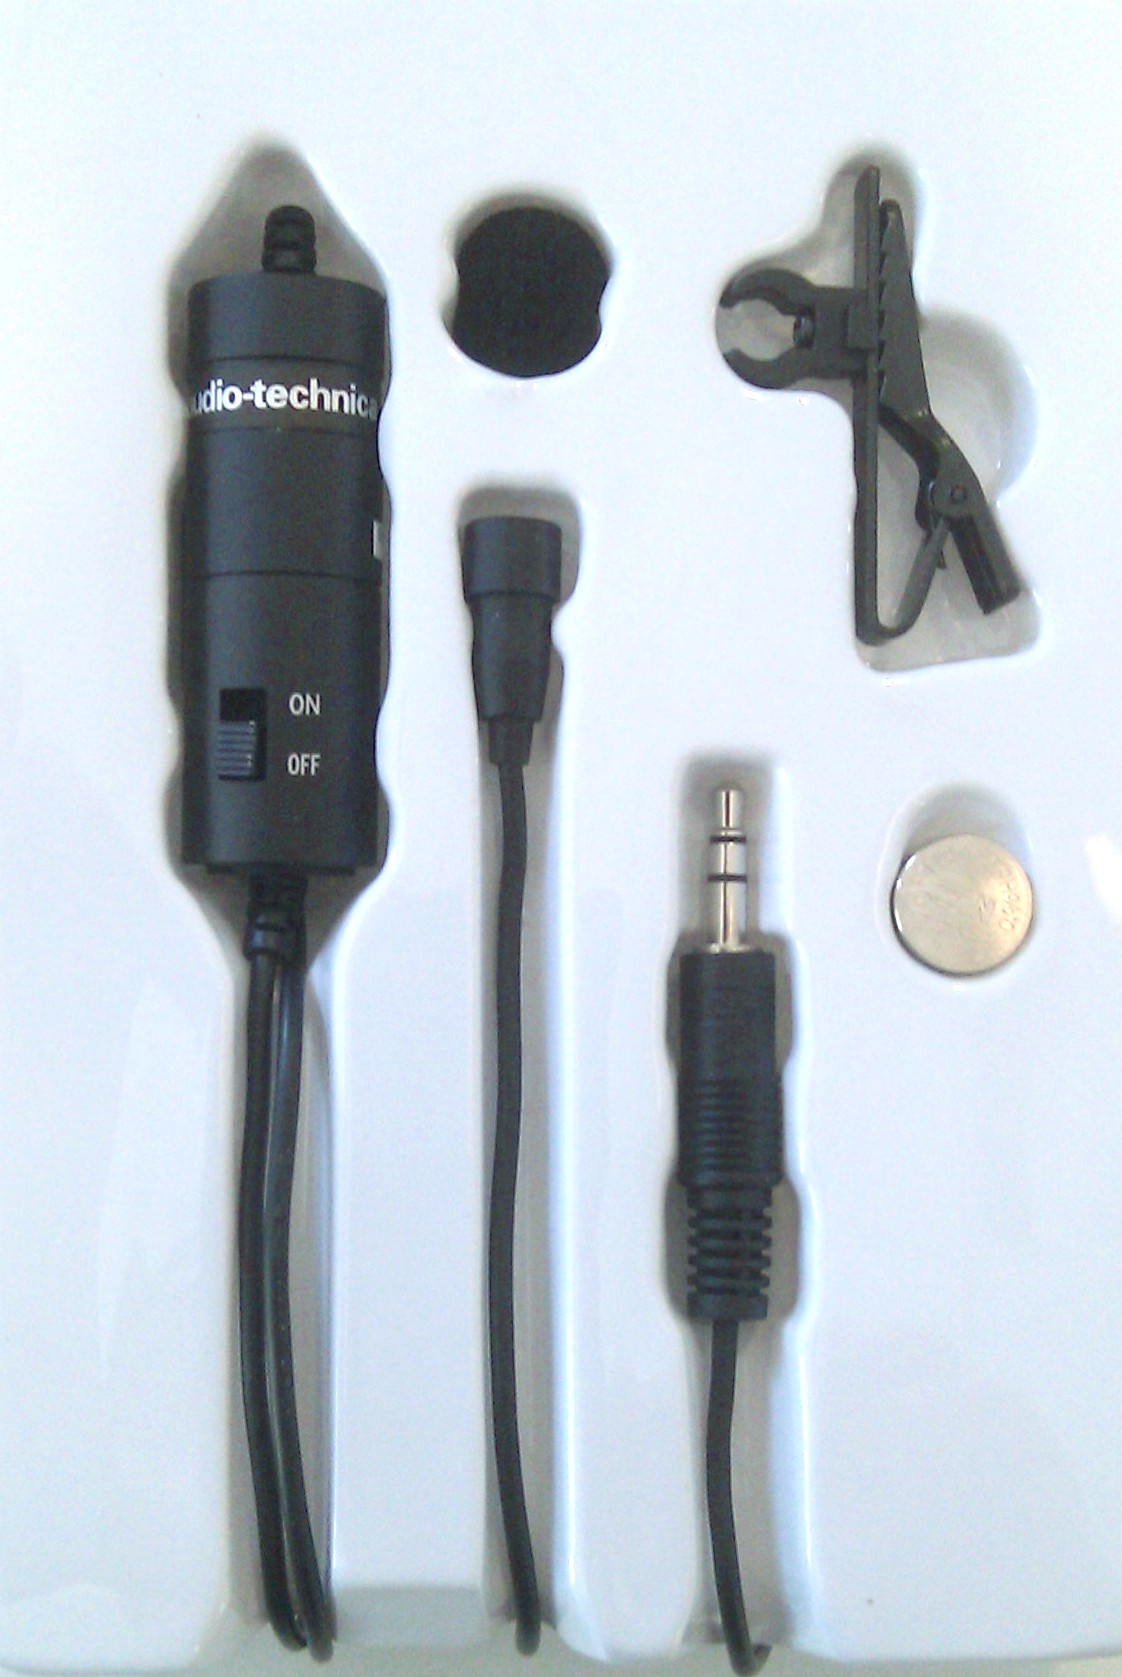
The built-in microphones on both the GoPro HD2 and Muvi HD7 cameras (that I use) are just about OK. If that’s all you’ve got then fine, but if you’re looking for better sound then you’ll need to invest in an external mic.
I’ve already written about using an external mic to improve the sound quality of your videos. If you haven’t done so already, then you can read about it here.
Summary
This first installment has been about the cameras and where to mount them. Hopefully it will help give you some answers to the sorts of questions I had when setting up my own bike camera(s).
In the next instalment I discuss the video editing software that I use. Editing your video is less involved than you might think and doing so will allow you to overlay videos, add titles and edit the clips according to your needs. And just in case you think this won’t be relevant for you, the software I’ll be describing is free, simple to use and works on Windows, Mac and even Linux!